Vue3 + Vite 项目创建和配置
安装创建vite项目
Vite文档地址:https://cn.vitejs.dev/
yarn create vite shop-admin --template vue


# 进入项目目录
cd shop-admin
# 安装依赖
yarn
# 启动
yarn dev
引入ElementPlus和基本使用
element-plus文档地址:https://element-plus.gitee.io/zh-CN/guide/installation.html#%E4%BD%BF%E7%94%A8%E5%8C%85%E7%AE%A1%E7%90%86%E5%99%A8
安装element-plus
# 选择一个你喜欢的包管理器

# NPM
$ npm install element-plus --save

# Yarn
$ yarn add element-plus

# pnpm
$ pnpm install element-plus
引入样式库
import ElementPlus from 'element-plus'
import 'element-plus/dist/index.css'
完整代码
import { createApp } from 'vue'
import ElementPlus from 'element-plus'
import 'element-plus/dist/index.css'
import './style.css'
import App from './App.vue'

const app = createApp(App)
app.use(ElementPlus)
app.mount('#app')
检测
<script setup>
import {
    Check,
    Delete,
    Edit,
    Message,
    Search,
    Star,
} from "@element-plus/icons-vue";
</script>

<template>
    <el-row class="mb-4">
        <el-button>Default</el-button>
        <el-button type="primary">Primary</el-button>
        <el-button type="success">Success</el-button>
        <el-button type="info">Info</el-button>
        <el-button type="warning">Warning</el-button>
        <el-button type="danger">Danger</el-button>
    </el-row>
</template>

<style scoped>
</style>
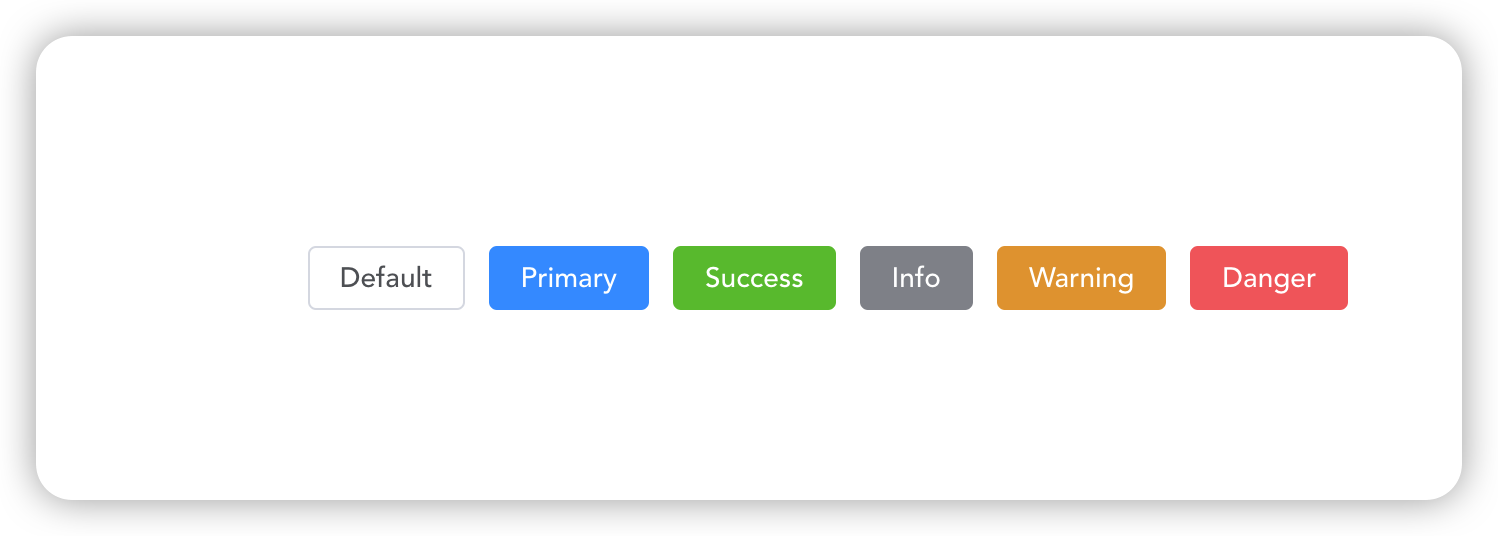
如果出现上面的内容,代表引入成功。
引入windicss样式库
使用vite相关安装命令
npm i -D vite-plugin-windicss windicss
import { defineConfig } from 'vite'
import vue from '@vitejs/plugin-vue'
import WindiCSS from 'vite-plugin-windicss'

// https://vitejs.dev/config/
export default defineConfig({
    plugins: [vue(), WindiCSS()],
})
import { createApp } from 'vue'
import ElementPlus from 'element-plus'
import 'element-plus/dist/index.css'
import './style.css'
import App from './App.vue'

const app = createApp(App)
app.use(ElementPlus)
import 'virtual:windi.css'
app.mount('#app')
在vscode中安装windicss插件
插件地址:https://marketplace.visualstudio.com/items?itemName=voorjaar.windicss-intellisense
Windicss小案例
颜色文档:https://cn.windicss.org/utilities/general/colors.html
间隔文档:https://cn.windicss.org/utilities/layout/spacing.html
简单写一个按钮样式
<script setup>
</script>

<template>
    <button class="bg-purple-500 text-indigo-50 px-4 py-2">按钮</button>
</template>

<style scoped>
</style>

<script setup>
</script>

<template>
    <button
        class="
            bg-purple-500
            text-indigo-50
            px-4
            py-2
            transition-all
            focus:(ring-8
            ring-purple-900)
            duration-500
            hover:(bg-purple-900)
        "
    >
        按钮
    </button>
</template>

<style scoped>
</style>
加上一些动画和触发效果,最后进行抽离
<script setup>
</script>

<template>
    <button class="btn">按钮</button>
</template>

<style scoped>
.btn {
    @apply bg-purple-500
            text-indigo-50
            px-4
            py-2
            transition-all
            focus:(ring-8
            ring-purple-900)
            duration-500
            hover:(bg-purple-900);
}
</style>
引入vue-router4
vue-router4文档地址:https://router.vuejs.org/
安装
yarn add vue-router@4
引入文档:https://router.vuejs.org/zh/guide/#javascript
使用hash模式
在src目录下新建router目录,在在里面新建index.js
import { createRouter, createWebHashHistory } from 'vue-router'

// 放后面的一些路由
const routes = []

const router = createRouter({
    history: createWebHashHistory(),
    routes,
})

export default router
使用createWebHashHistory后,网页链接会出现/#/这样的内容
import { createApp } from 'vue'
import ElementPlus from 'element-plus'
import 'element-plus/dist/index.css'
import './style.css'
import App from './App.vue'
import router from './router'

const app = createApp(App)
app.use(router)
app.use(ElementPlus)
import 'virtual:windi.css'
app.mount('#app')
运行效果
http://localhost:5173/#/
给文件夹指定别名
vite配置别名文档地址:https://cn.vitejs.dev/config/shared-options.html#resolve-alias
在vite.config.js中进行配置,需要使用到node内置的一个path模块来处理路径问题。
import { defineConfig } from 'vite'
import vue from '@vitejs/plugin-vue'
import WindiCSS from 'vite-plugin-windicss'

// 处理路径相关的 内置模块
import path from 'path'

// https://vitejs.dev/config/
export default defineConfig({
    resolve: {
        alias: {
            // 给 src 指定别名 ~
            '~': path.resolve(__dirname, 'src'),
        },
    },
    plugins: [vue(), WindiCSS()],
})
一般我们都是使用@符号来指定。
指定完之后,我们小试牛刀一下,一般我们在src目录下的pages目录里写页面,所以我们还得创建这个文件夹,比如现在创建一个index.vue和about.vue
<template>
    <div>后台首页</div>
</template>
<template>
    <div>about</div>
</template>
然后在路由文件里进行引入和配置
import { createRouter, createWebHashHistory } from 'vue-router'
import Index from '~/pages/index.vue'
import About from '~/pages/about.vue'
const routes = [
    {
        path: '/',
        component: Index,
    },
    {
        path: '/about',
        component: About,
    },
]

const router = createRouter({
    history: createWebHashHistory(),
    routes,
})

export default router
可以看到我们已经使用了别名~的来代替src。
此时页面并没有生效,我们还得配置一个router-view在App.vue中
<script setup>
</script>

<template>
    <router-view></router-view>
</template>

<style scoped>
</style>
这样现在我们就可以在网页中进行输入页面路径进行访问index和about了。
配置404页面
假如我们在页面随便输入一个链接,我们需要去配置一个404页面来告诉用户,这个页面不存在。
关键代码
import NotFound from '~/pages/404.vue'
const routes = [
    {
        path: '/',
        component: Index,
    },
    {
        path: '/about',
        component: About,
    },
    {
        path: '/:pathMatch(.*)*',
        name: 'NotFound',
        component: NotFound,
    },
]
给404页面加一点样式
<template>
    <div>
        <el-result icon="warning" title="404提示" sub-title="你找的页面不存在">
            <template #extra>
                <el-button type="primary" @click="$router.push('/')"
                    >回到首页</el-button
                >
            </template>
        </el-result>
    </div>
</template>
$router.push('/')里的$router只能在template里使用。